Claw Fishing Ocean & Arctic Worlds
How the starter Ocean and unlockable Arctic zones shape your boat routes, fish pools, and upgrade goals.
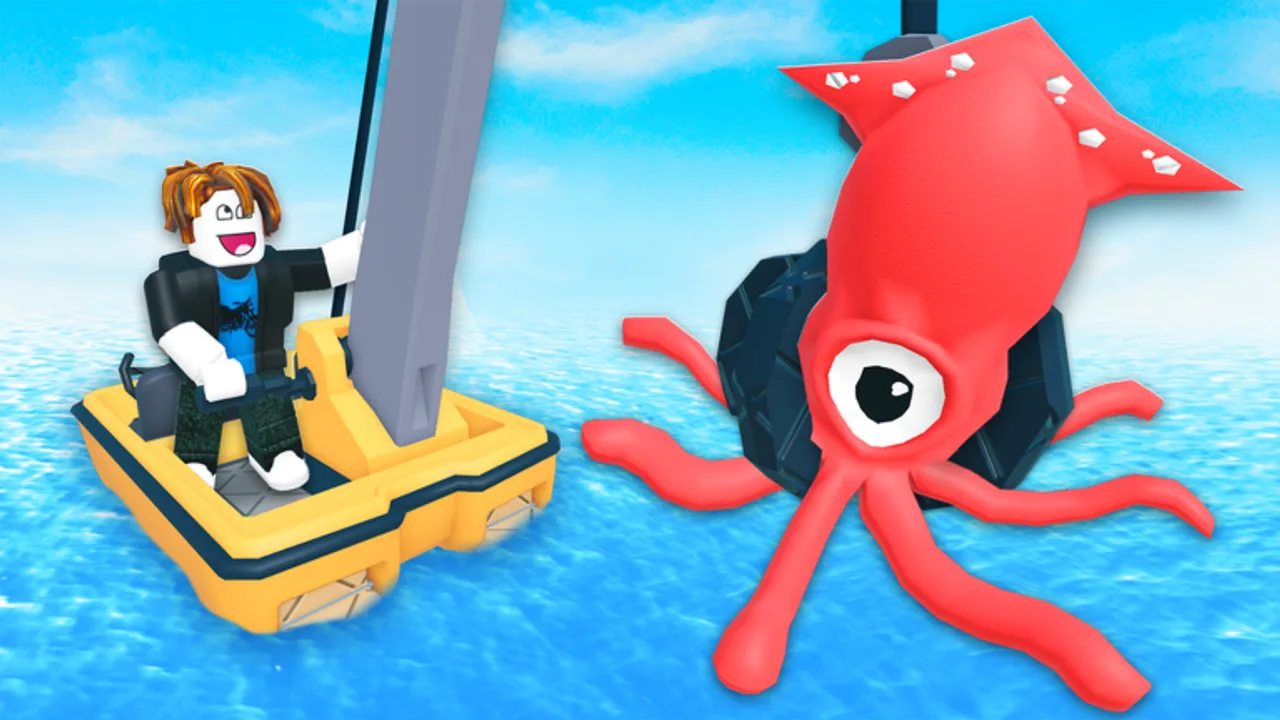
Progress in Claw Fishing is measured by how far your boat can fish — not by casting a rod. Community reports describe two primary worlds: the starter Ocean and an unlockable Arctic zone with a colder theme, different fish pools, and higher-value targets. This guide explains how to think about world progression, what to upgrade before pushing out, and how tsunami risk scales with distance. Exact unlock prices can change after patches, so treat in-game prompts as the source of truth after the 2 August 2026 universe update.
Start with Getting Started if you have not completed a full harbor loop yet.
Ocean world — your home waters
The Ocean is where every account begins. Harbor, aquarium, and the first claw-friendly schools live here. Official loop copy still applies: drive your boat, lower your claw, catch fish, put them in the aquarium, and watch for tsunami warnings.
Ocean goals for the first sessions:
- Learn claw centering in shallow water (Controls)
- Fill aquarium slots with the best keepers you can hold (Aquarium & Money)
- Spot early mutations even behind the buoy
- Buy the first claw reach and boat speed upgrades (Upgrade Priority)
- Practice aborting runs when tsunami cues appear
Stay here until missing deep fish is a gear problem, not a skill problem. Rushing outward with a short claw wastes sessions.
Arctic world — colder, higher stakes
Community guides describe the Arctic as the second permanent world: a distinct visual theme, unique fish types, and tougher conditions once unlocked. Treat the following as community-reported until you confirm the unlock UI in your client:
- Unlock typically follows sustained money and upgrade progress from Ocean grinding
- Fish pools differ from starter Ocean commons
- Travel and claw difficulty rise — expect longer trips and stricter tsunami discipline
- Higher-value catches fund endgame aquarium slots and legendary goals
We do not invent a coin price or quest checklist here. When Smoothly Sailing shows an Arctic unlock button or travel gate, follow that prompt and then re-check the Fish index and Fish Tier List for new keepers.
How to push farther (even before Arctic)
Whether you are crossing Ocean depth bands or preparing for Arctic entry, the same progression levers apply:
| Lever | Why it matters |
|---|---|
| Claw reach / depth | Far fish sit outside short claws |
| Boat speed | Escape tsunami; more trips per hour |
| Aquarium quality | Funds upgrades without panic selling |
| Mutation scanning | 5x–15x keepers accelerate unlock cash |
| Controls mastery | Misses cost more when travel is long |
Recommended order:
- Stabilize Ocean income with Best Money Methods
- Prioritize claw reach until mid-depth schools become reliable
- Add boat speed before marathon deep routes
- Expand aquarium slots so Arctic or deep Ocean keepers have somewhere to live
- Schedule dedicated far-water sessions with abort rules ready
Tsunami risk by distance
Farther waters mean more time exposed when a warning hits. Rules that keep progression sane:
- Keep an escape lane pointed toward harbor or the nearest safe ring
- Never leave a full claw hanging when the warning starts
- Bank mutated and legendary deck fish early rather than “one more grab”
- In six-player lobbies, do not rely on other boats marking safety — read Multiplayer Tips
Distance without escape planning is how leaderboard hopefuls wipe hours of work. See Leaderboard Top 100 if you are competing on sustained income rather than screenshot catches.
Fish differences at a high level
| Zone band | Typical role |
|---|---|
| Ocean shallow / buoy | Commons, uncommons, early mutations |
| Ocean mid / deep | Rares, legendaries, Whale Shark routes |
| Arctic (when unlocked) | Distinct species pool; higher value potential |
Use the Fish index for band notes and the Whale Shark page for the flagship deep target. World pages explain where you sail; tier lists decide what you keep.
Session template: Ocean to far water
- Collect aquarium money; note cash needed for next claw or boat upgrade.
- Warm up with buoy-line clawing and mutation scans.
- Push one depth band farther than last session — not three.
- On a strong catch (Gold+, rare+, or Arctic newcomer), harbor immediately.
- Slot, collect, buy one upgrade, stop or repeat once.
- Log off if warnings overlap every run — fatigue causes wipe greed.
Common mistakes
- Treating Claw Fishing like Fisch. There is no rod/bait meta here; worlds gate boat-and-claw reach.
- Unlocking Arctic with empty aquarium slots. You will catch better fish and have nowhere efficient to put them.
- Ignoring mutations while racing for a new map. A Rainbow Ocean catch can fund the unlock faster than grinding plain commons farther out.
- Copying unlock prices from random blogs. Numbers drift; trust the live game after each update.
Related pages
- Mutations — Silver / Gold / Rainbow value spikes
- Upgrades — spend order for reach and speed
- Rare & Legendary Fish — deep Ocean targets
- Tsunami Survival — distance safety
- Updates — Aug 2026 patch watch
- Wiki links — official Roblox game and group
Master the Ocean loop, fund your claw and boat, then treat Arctic as a higher-stakes aquarium farm — not a tourism screenshot. Farther water only pays when you can claw cleanly and still make it home.
Frequently Asked Questions
Quick answers players ask while claw fishing on Roblox.
How many worlds are in Claw Fishing?
Community reports list two primary worlds: the starter Ocean and an unlockable Arctic. Sub-zones or events may appear inside those maps.
How do I unlock the Arctic world?
Progress through Ocean income and upgrades until the in-game unlock or travel gate appears. Exact costs change with patches — follow the live UI.
Should I rush Arctic as a new player?
No. Stabilize claw timing, aquarium slots, and boat speed in the Ocean first so Arctic trips are profitable and survivable.
Does the tsunami matter more in farther worlds?
Yes. Longer travel increases exposure. Keep an escape lane and bank valuable catches early.
Are Arctic fish better for the aquarium?
They often offer a distinct higher-value pool once unlocked, but a mutated Ocean keeper can still beat a plain Arctic catch — compare rates before swapping.